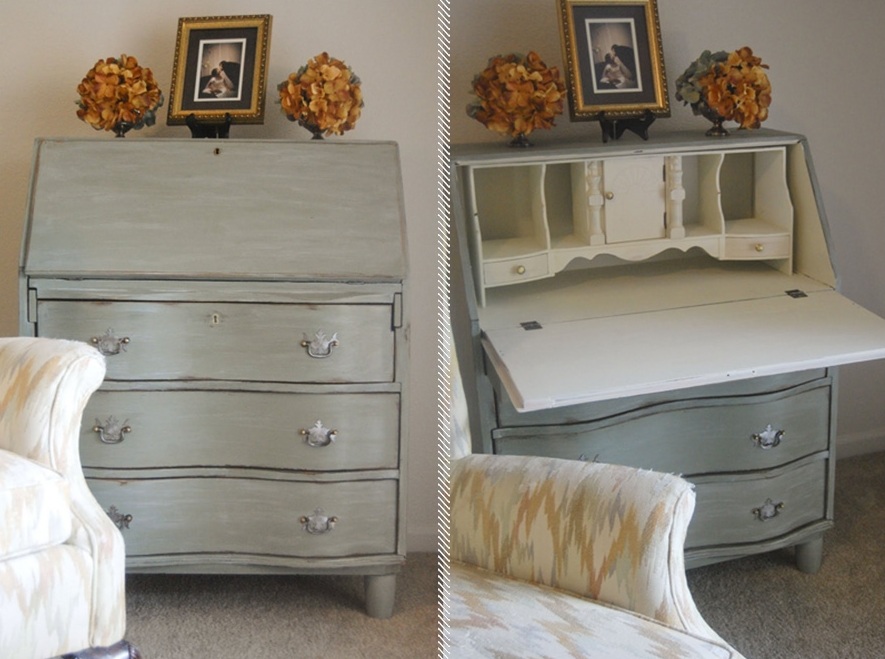
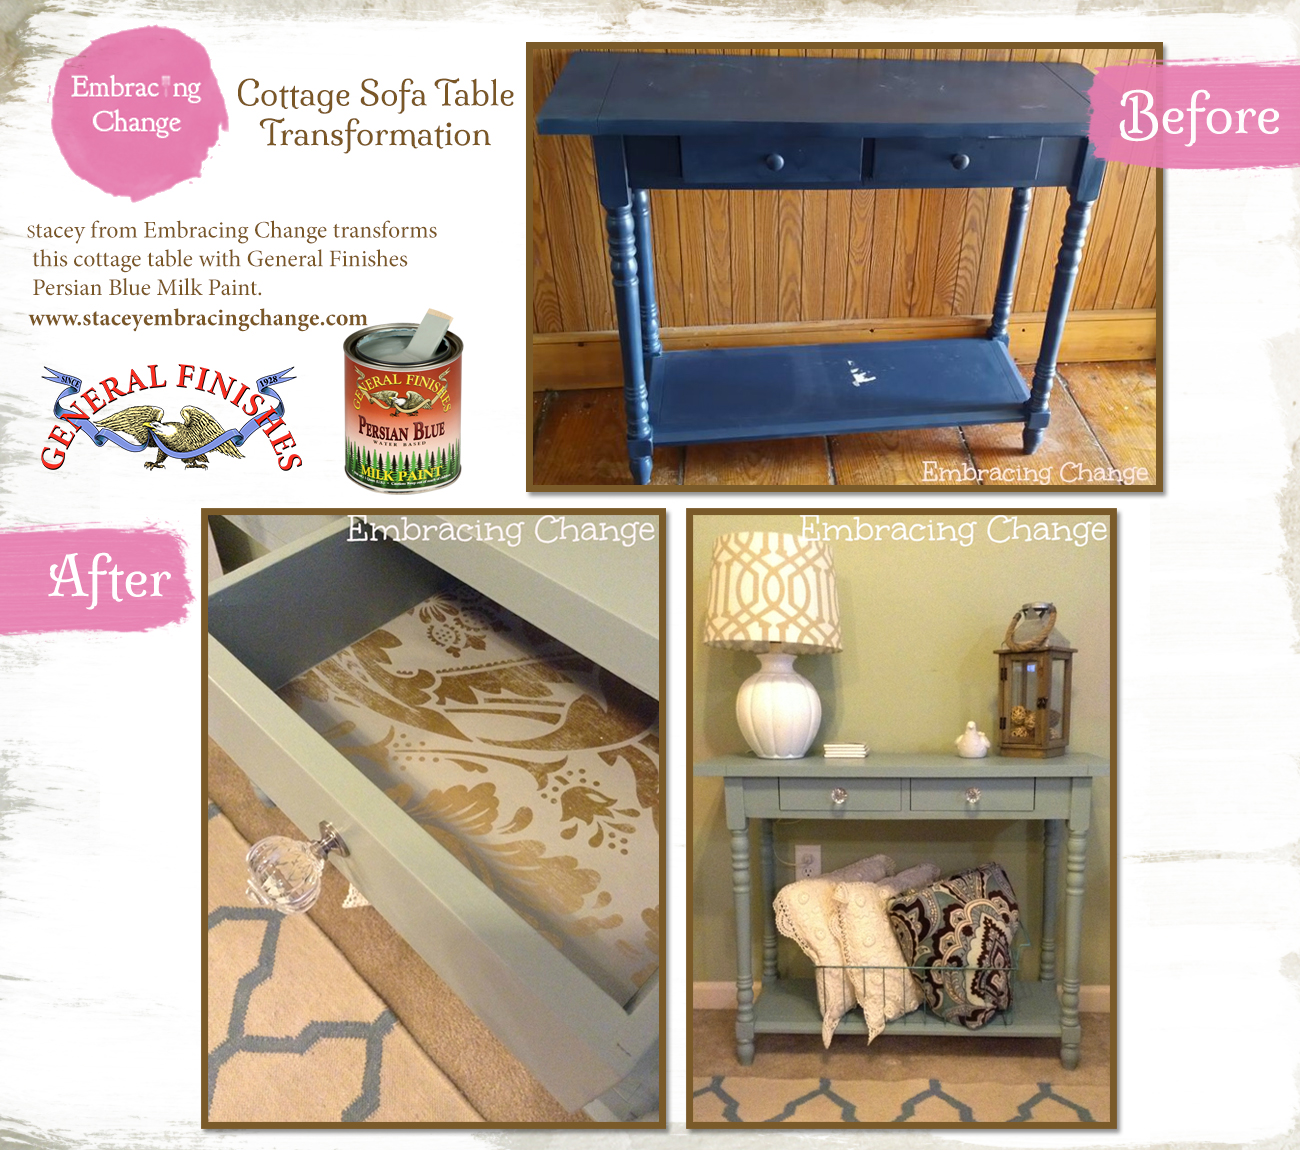
General Finishes milk paint is a versatile paint that is perfect for a variety of looks, such as modern, aged or distressed. It’s amazingly adaptable, and has a nostalgic satin sheen that will give you the perfect timeless look you’re after.
General Finishes (GF) Milk paint is not a true milk paint (a milk protein and lime product that comes in powder form and needs to be mixed) but is a modern, pre-mixed acrylic paint that mimics the low-luster sheen of a traditional milk paint. It is adaptable, UV-resistant, and easy to work with. It can be hand applied or sprayed, and allows for creative techniques such as mixing, distressing, glazing, layering, and many others. It can even be used on wood, fiberglass, PVC, vinyl, and most composite materials (although this guide will focus on wood), and can be applied over existing finishes as long as they are completely dry.

Preliminary tips
GF milk paints are self-sealing and usually don’t require the use of a primer before applying over an existing finish, but as versatile as these paints are, do keep in mind that not all colors will work for certain applications.
- Light colors over red stains: Red stains tend to bleed through the lighter shades of milk paint. If you decide you want to paint over a red stain anyway, be sure to use a shellac-based, stain-blocking primer (such as Zinsser 123 primer) to help minimize bleeding.
-
White paint over dark colors: The “Snow White” GF milk paint will not completely cover the original finish if you’re painting over a dark color. Try using “Antique White” or “Linen” instead, as these will do a much better job of covering up darker shades. Alternatively, you could use a primer to hide the darker color.
-
Sanding: If you’re planning on sanding down to bare wood and glazing, do not use a primer, as you will be able to see it on the finished product.
#1 Preparing to Paint
Are you working with unfinished wood or over an existing finish?
- Unfinished wood: Start by filling any nail holes with water-based wood putty if necessary. Next, sand with 120 grit sandpaper or pad, then 150 grit. Before you start painting, don’t forget to remove the dust! Try using an air compressor or non-sticky tack cloth made for water-based products.
-
Painting over an existing finish: Use a 50/50 mix of denatured alcohol and water to thoroughly clean all surfaces you intend to paint.
#2 Applying the Finish
Here’s how to apply the paint (this is pretty basic stuff).
- Stir paint thoroughly. If the paint is thicker than you’d prefer to work with, add a little water to thin it out a bit.
-
Use a bristle brush initially to apply the milk paint to your surface, then smooth and feather it out with a foam brush. You can use a chip brush to get the paint out of corners and other small areas as you work.
Note: Milk paint also works perfectly with a sprayer. Check out General Finishes’ video on using milk paint with a sprayer if you’re interested.
#3 Applying Multiple Coats
GF milk paints generally call for 2 to 3 coats, depending on the color of the wood or finish underneath and the look that you want (two coats is often enough). When applying multiple coats, keep the following points in mind:
- Give each coat 2-4 hours to dry before applying the next coat.
-
Buff each coat with a 220 sanding pad or 400-grit sandpaper, and remember to thoroughly remove the dust. Sanding isn’t necessary for the paint to adhere, but it does result in a smoother finished product.
-
Be careful with the finish until it has fully cured. The time for GF milk paints to cure completely is typically between 14-21 days. This number, however, is based on three coats of paint, 70° farenheit, and 70% humidity. Actual time will vary depending on conditions. Until it has cured completely, take extra care not to scratch or dent the paint!
#4 Protecting the Finish
Because GF milk paints can withstand medium wear, they don’t typically require a topcoat. However, there are several cases that might call for one. Here are a few things to consider if you want extra protection for your finish.
- Altering the sheen or increasing durability: If you would prefer a look other than the typical low-luster sheen or would like to increase the durability of the paint, apply two coats of any GF water base cleaner top coat. If you do not want the finish to alter the color of the paint, try Poly Acrylic or High Performance top coat. If you want an amber-oil look, however, try using Enduro-Var water base.
-
Exterior surfaces: GF milk paints can also be used for exterior applications! Just be sure to use three coats of your milk paint for extra durability. If you would like to change the sheen, however, use Exterior 450 topcoat to your project, and remember to wait 3-5 days before moving your project outside.
Browse CSHardware’s wide selection of General Finishes Milk paints and the rest of their finishes and topcoats here! Also, take a look at General Finishes’ collection of customer showcase of projects using milk paints!
If you’re interested in creating unique looks with your milk paints, keep an eye out for next Friday’s post for some creative techniques!


