


Bathroom Vanity Cabinet Trends
If you’re investing in a bathroom remodel or building from scratch, these bathroom vanity cabinet trends will help you create the latest contemporary designs. From
Cabinet Terminology Defined
Knowing the specific parts of a cabinet and general terminology better informs your decisions when you’re shopping for new assembled or RTA kitchen cabinets. Here
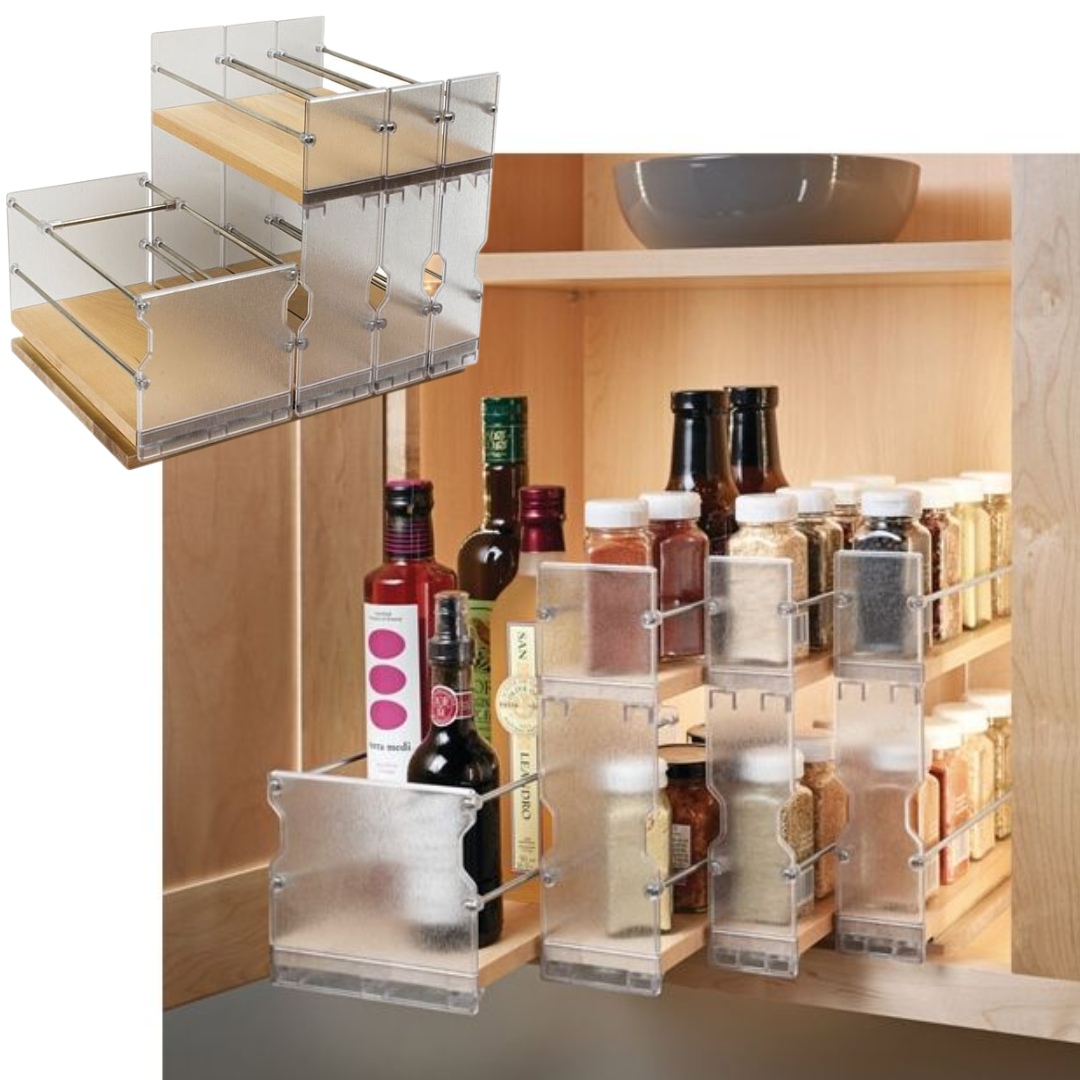
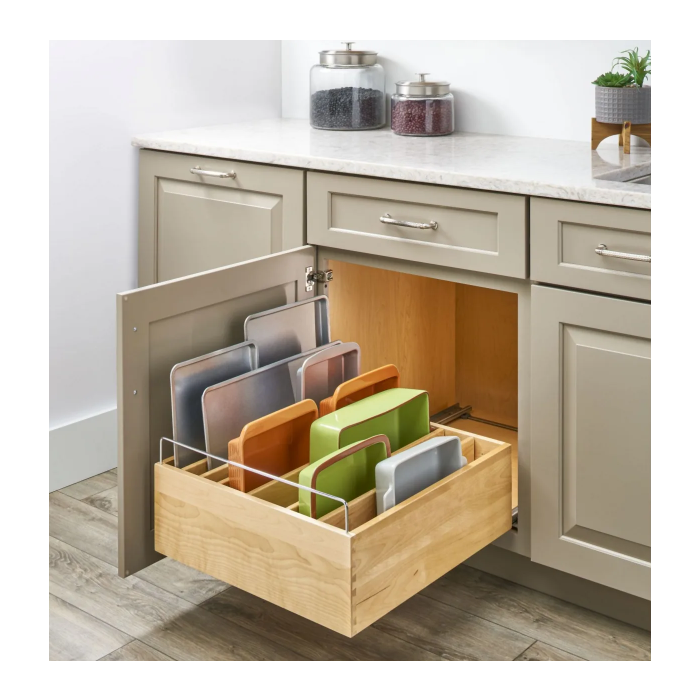
Cabinet Space Savers
Efficient and tidy kitchen organization is all the rage, and you’ll find plenty of cabinet space savers at Custom Service Hardware. Picture this: you’re preparing
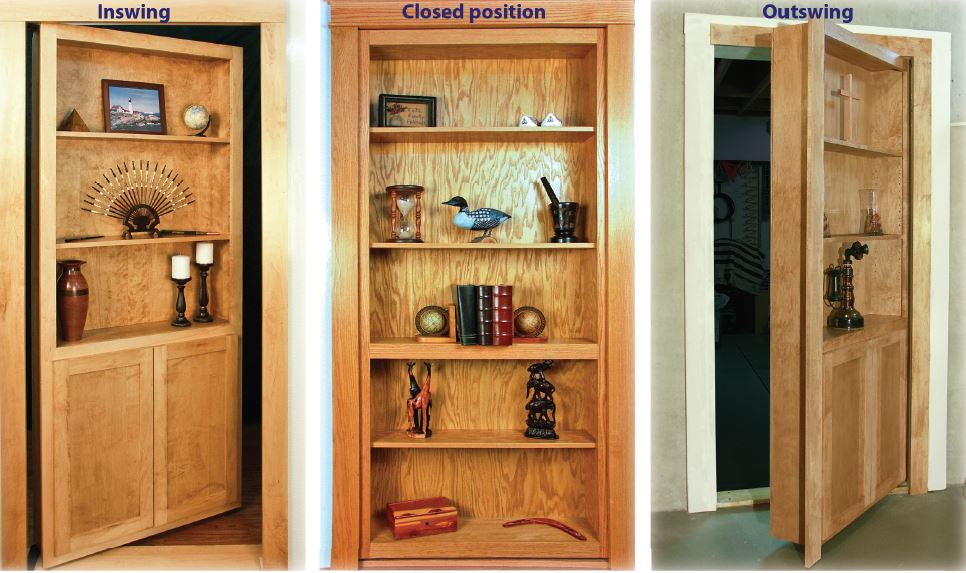
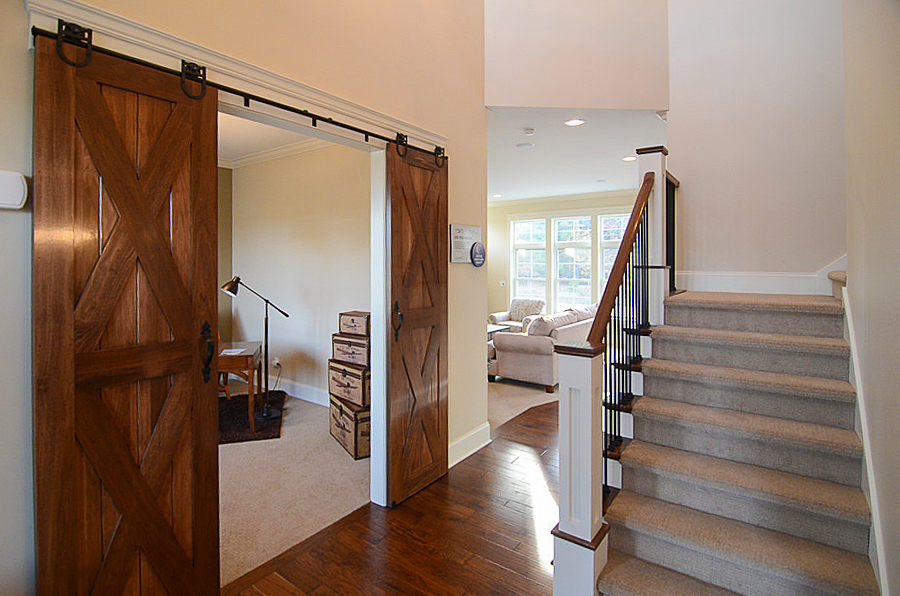
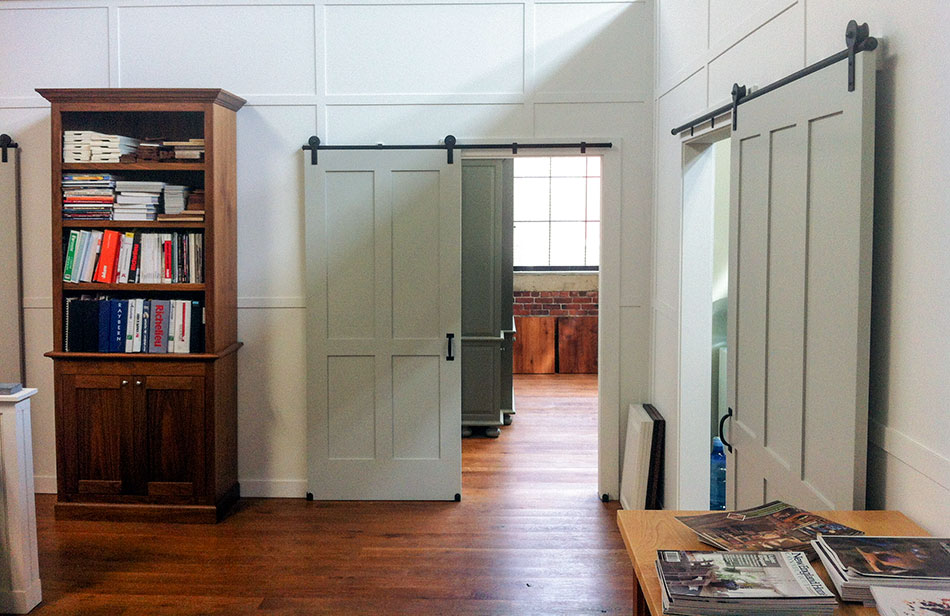
Interesting Ways To Use InvisiDoor Hidden Rooms
InvisiDoor bookcases at Custom Service Hardware put the dream of having your own hidden room within reach. In a world where privacy and security are

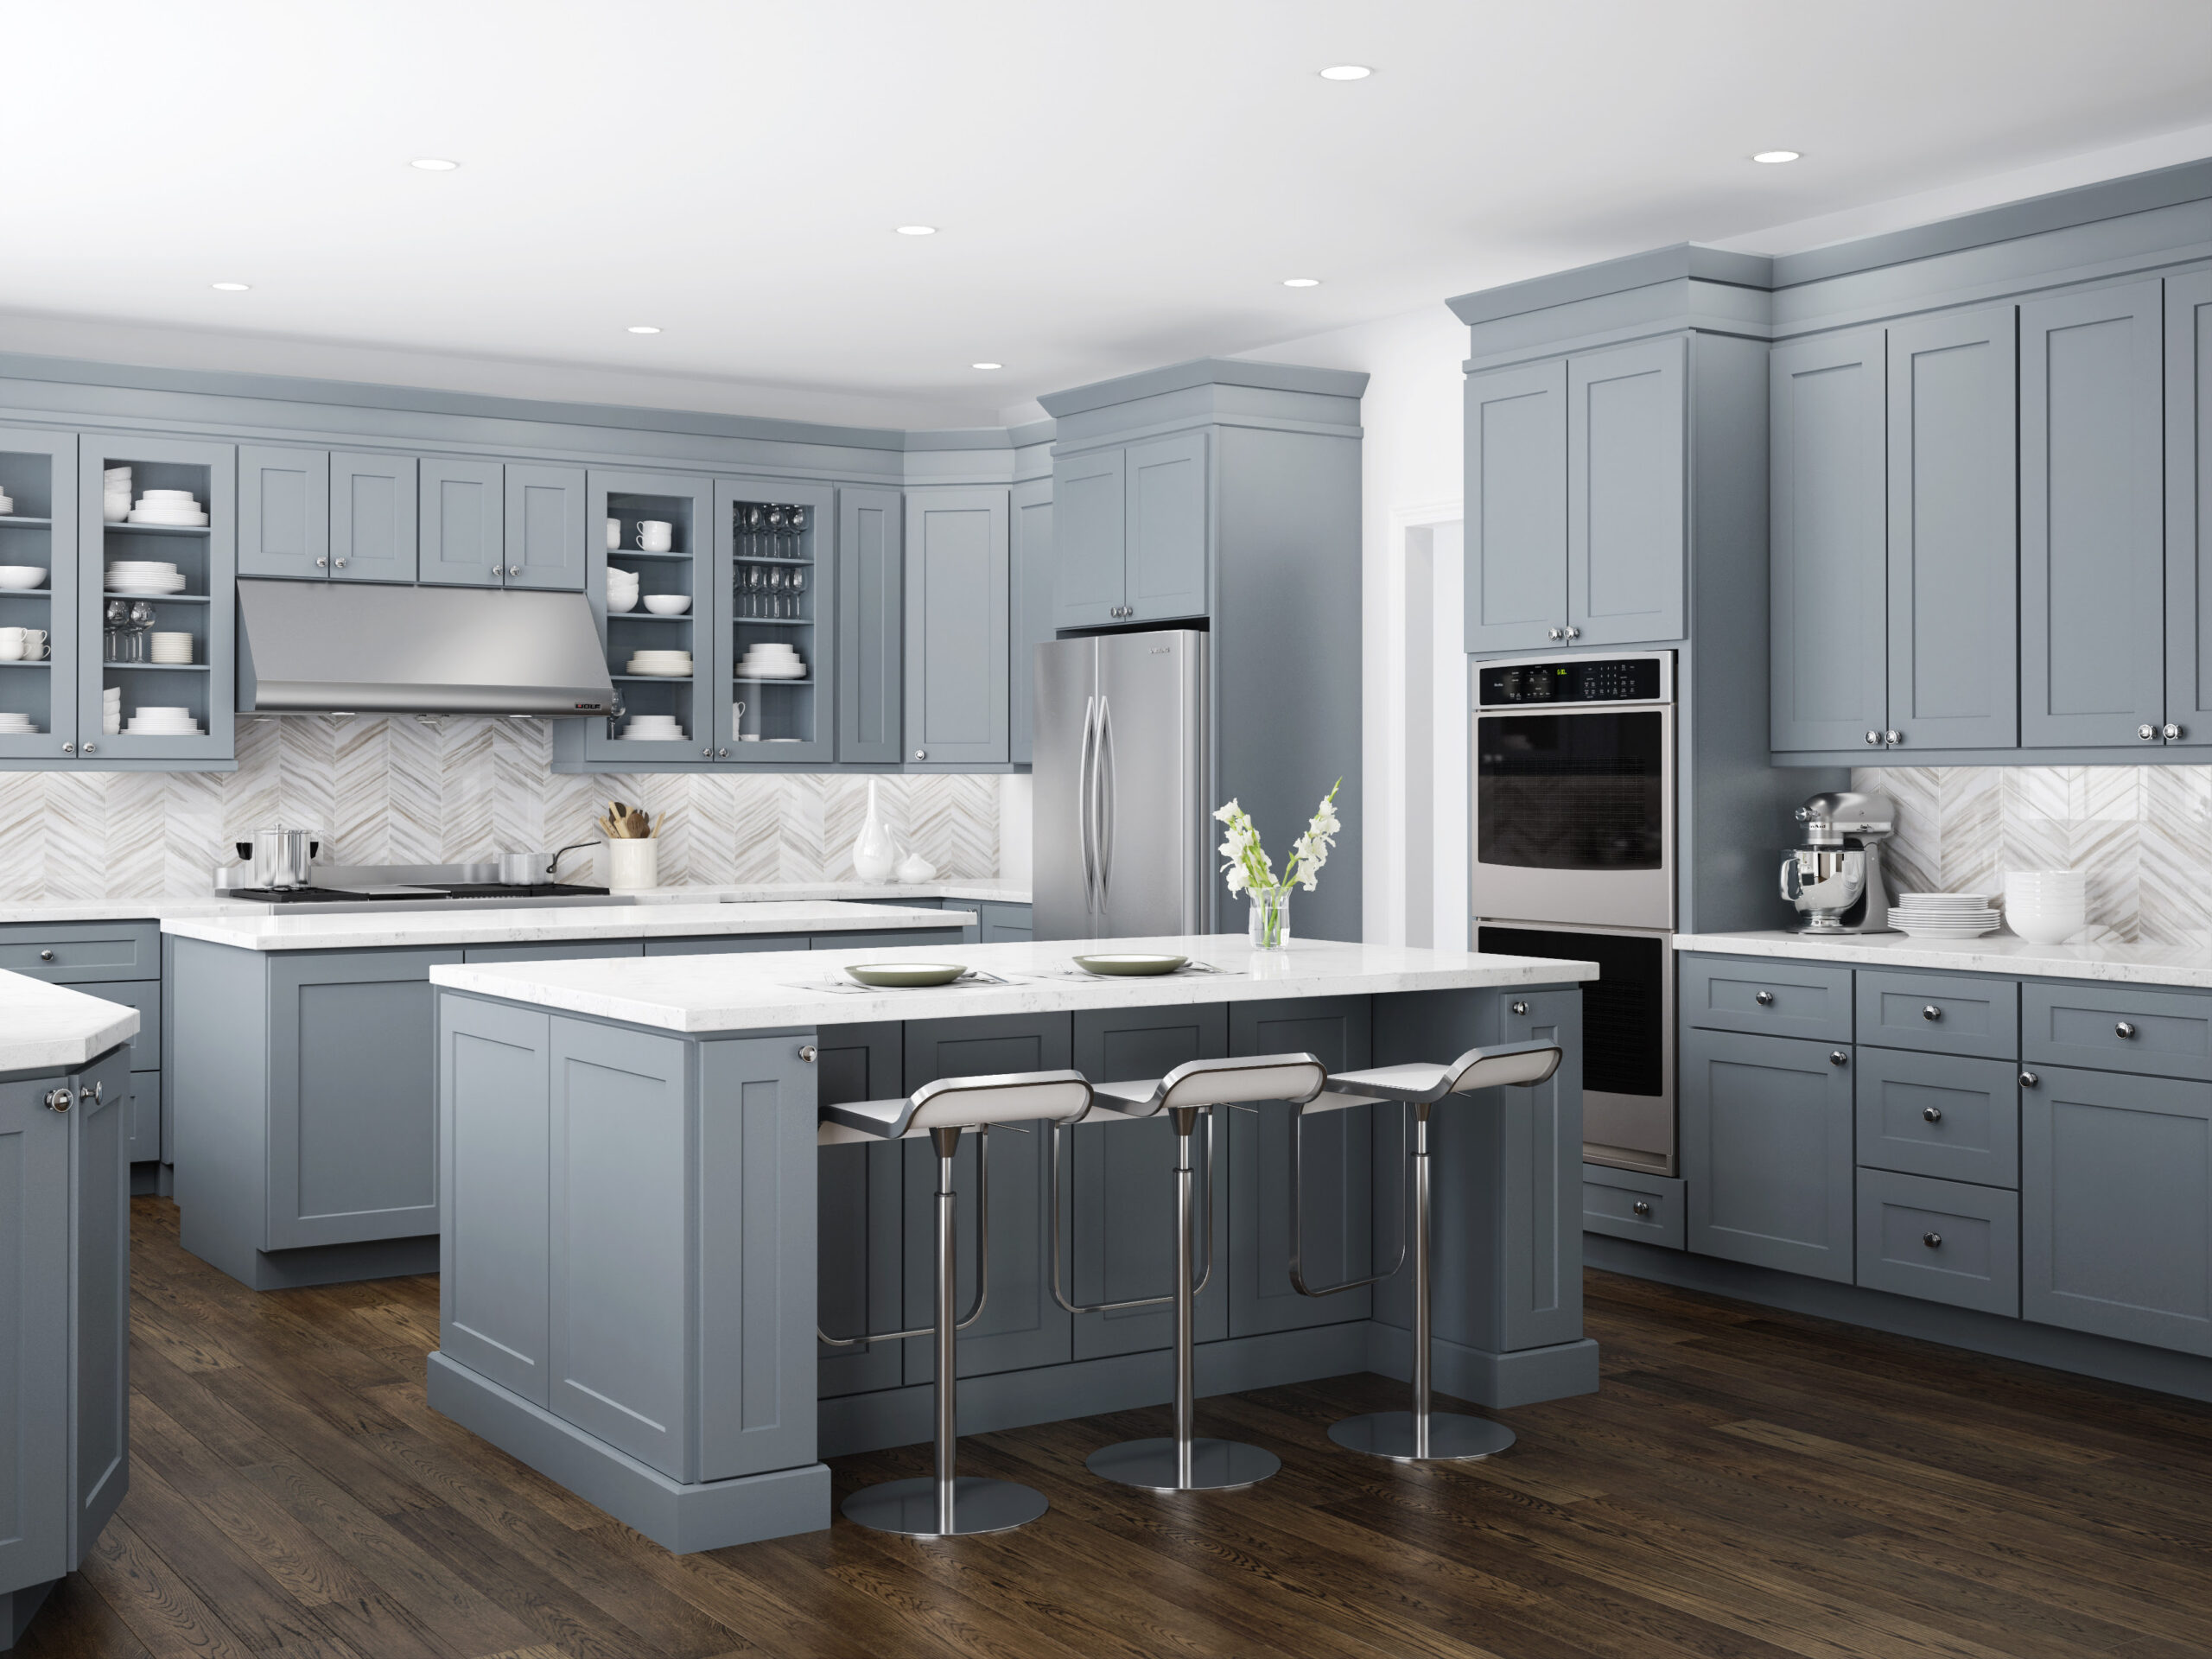
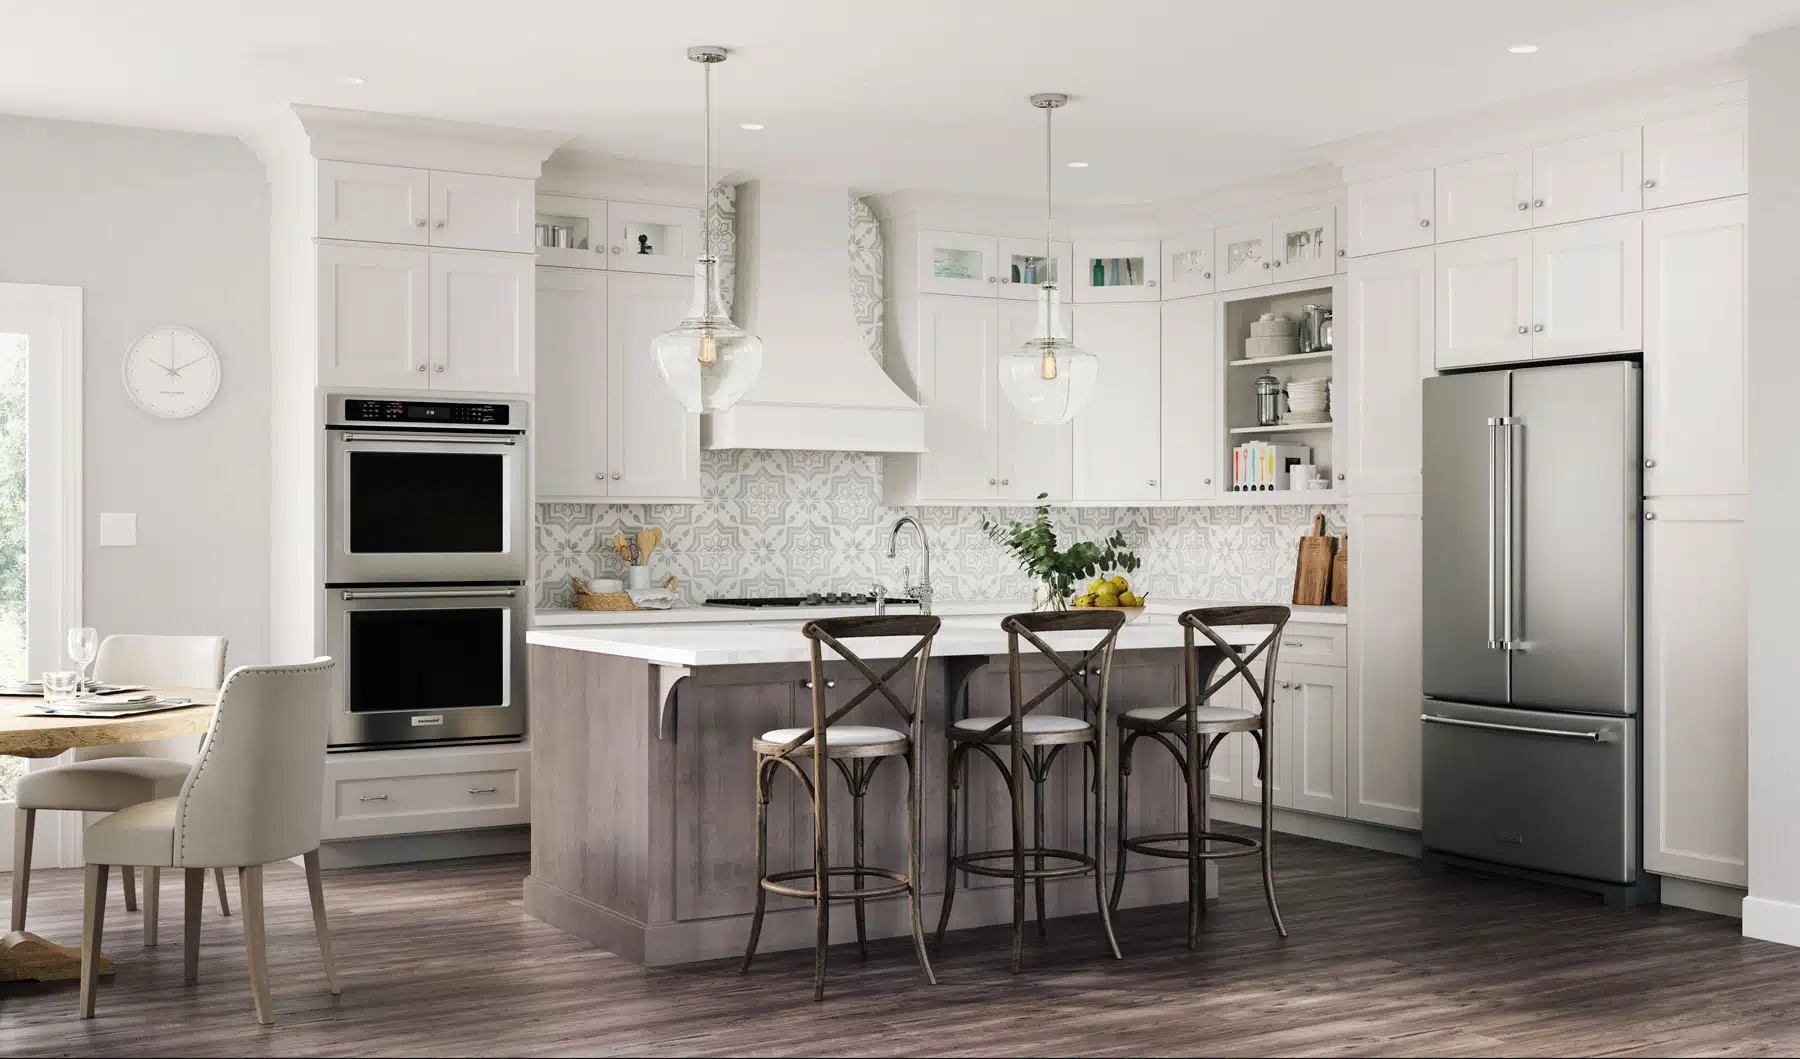
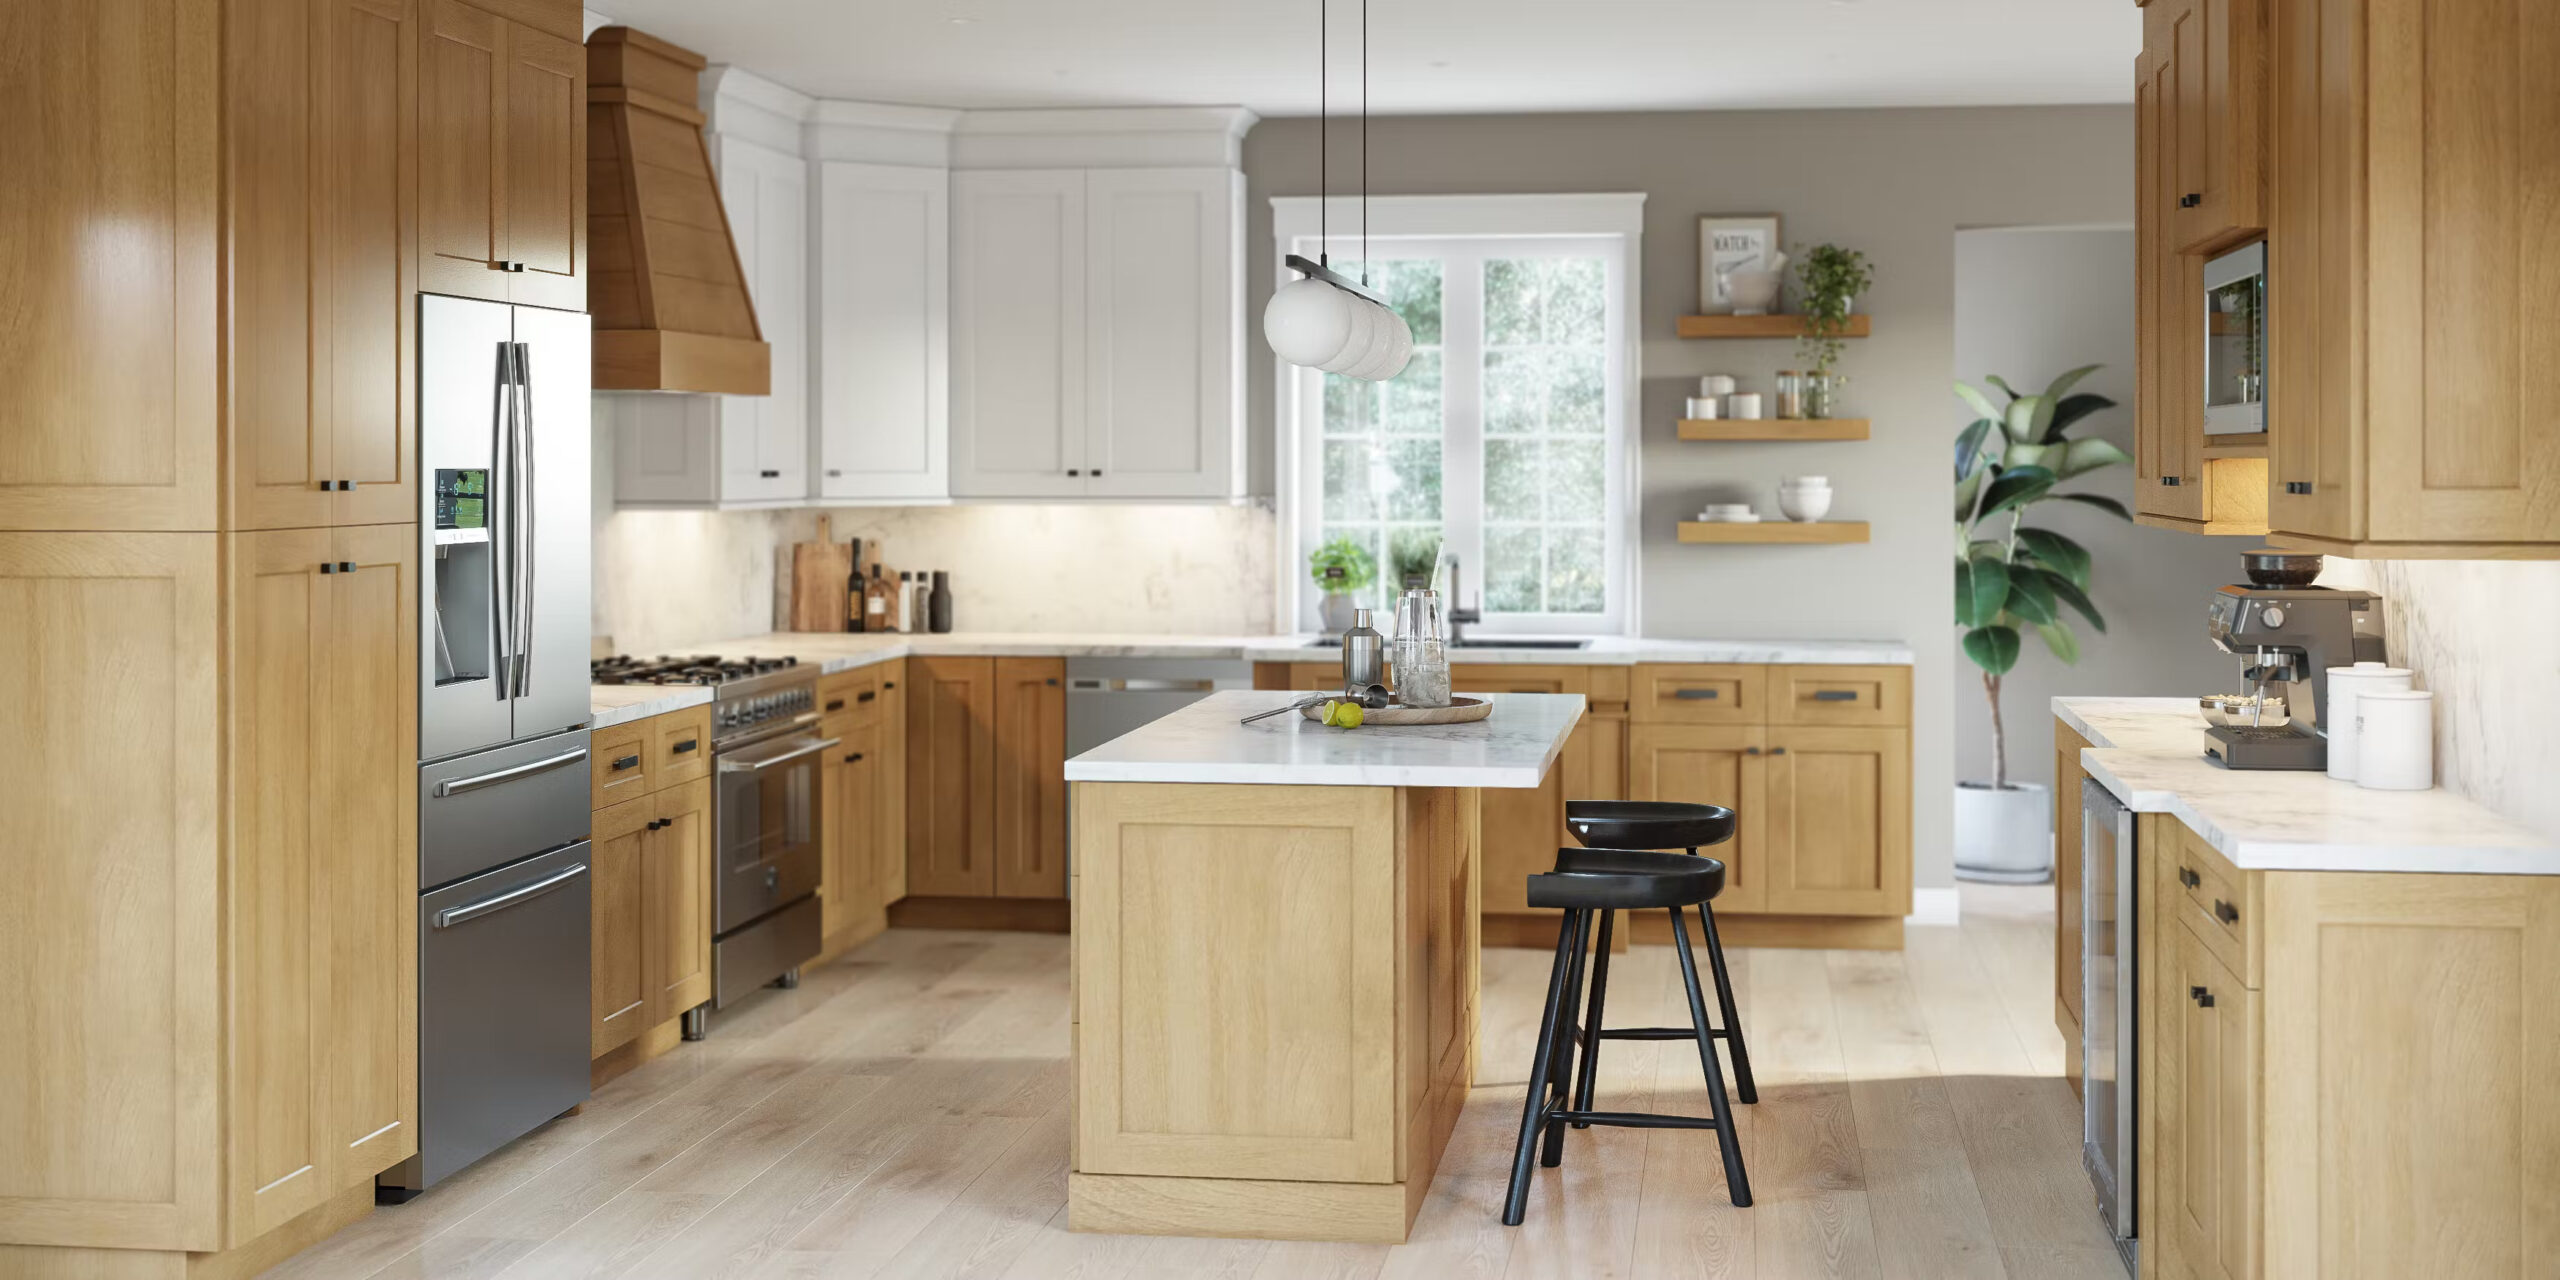
Kitchen and Kitchen Cabinet Trends 2024
Kitchen color and kitchen cabinets trends for 2024 keep things warm and natural. Find the perfect kitchen cabinets at Custom Service Hardware. We offer several
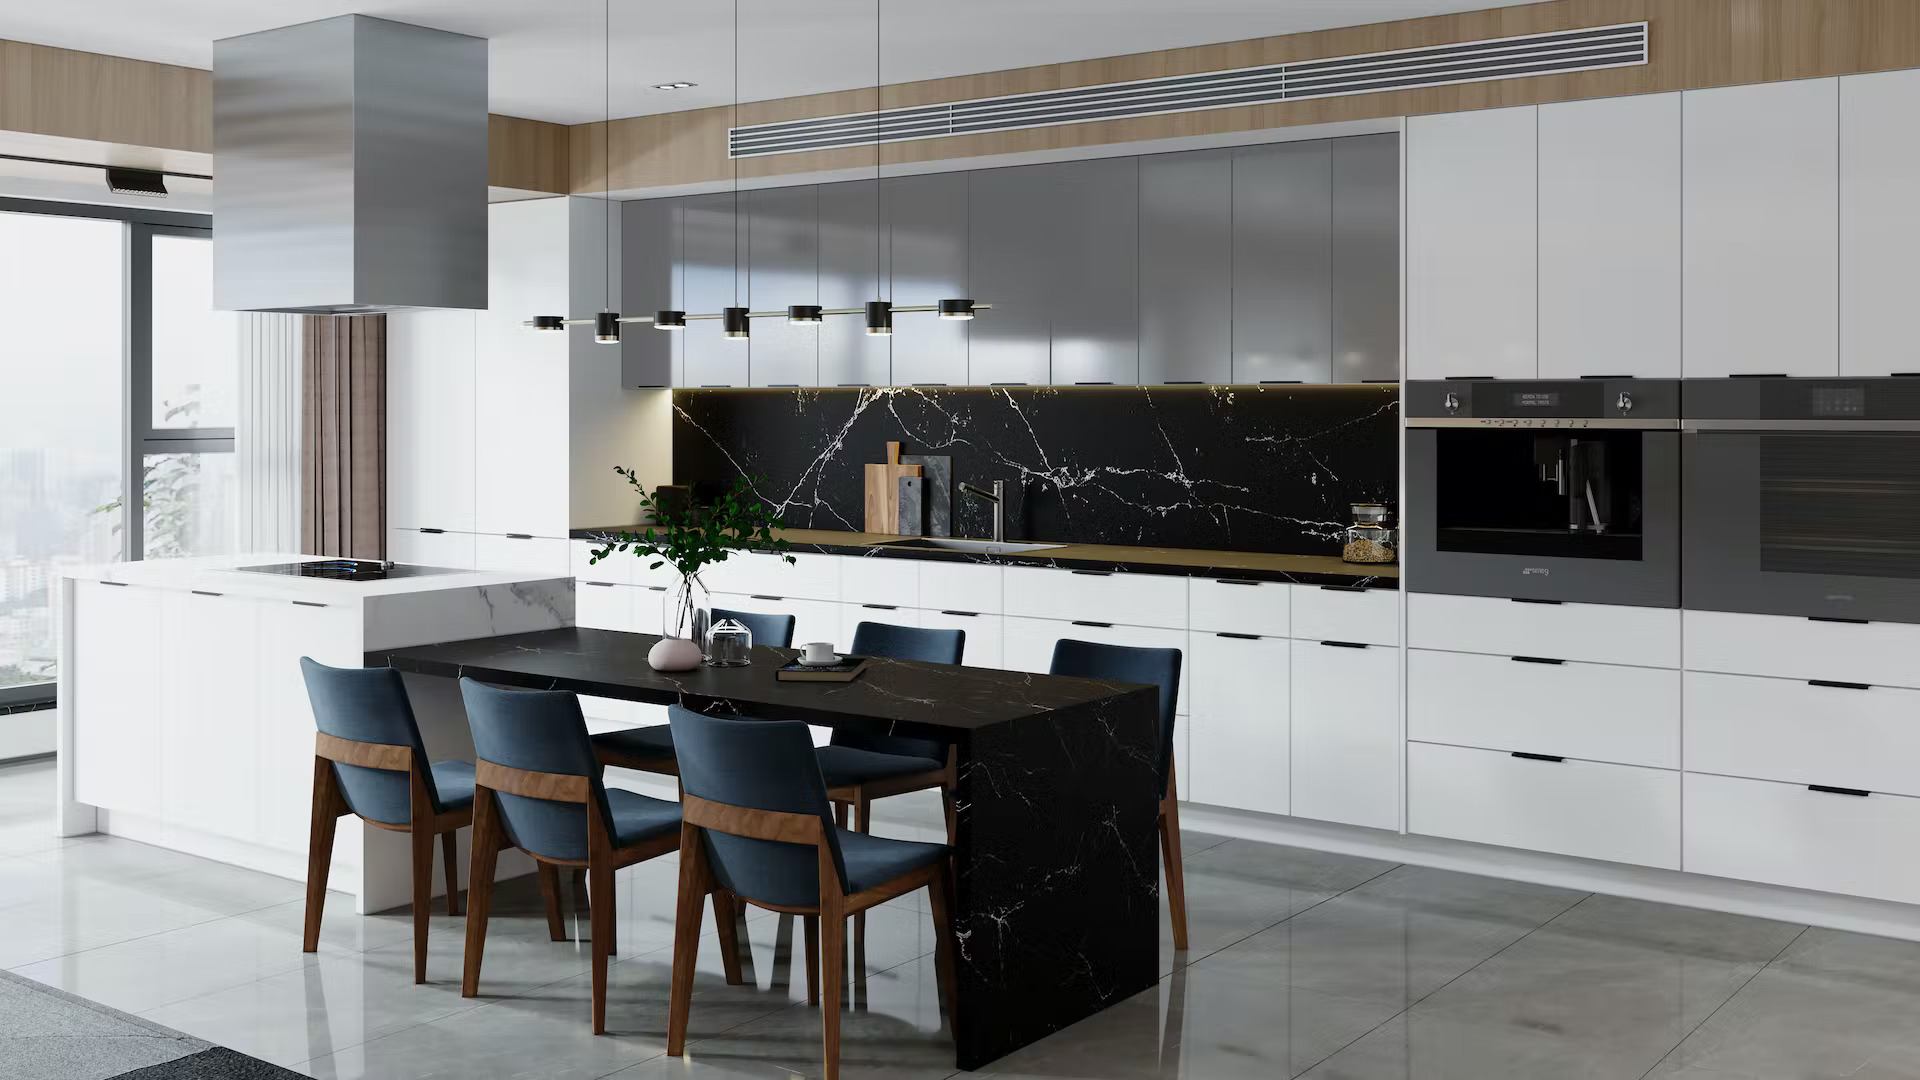
Slab Front Gloss Cabinets: 2024 Cabinet Trend Watch
The smooth, frameless surface and reflective quality of slab front gloss cabinets make them a perfect choice for modern or European-style kitchens. As we step
Spotlight: Legend Cabinetry at Custom Service Hardware
Legend Cabinetry set the standard for quality, value, variety, and sustainable practices. Find your Legend cabinets at Custom Service Hardware. We offer several of their
How To Match Our Kitchen Cabinets to the Perfect Countertops
When it comes to designing your dream kitchen, the perfect combination of cabinets and countertops is critical for success. Once you choose your kitchen cabinet
Small Kitchen Design Hacks
A small space doesn’t need to limit the greatness of your kitchen. Use these small kitchen design hacks from Custom Service Hardware to maximize space
Budget-Friendly Ways to Freshen Up Your Kitchen in 2024
If you want a budget-friendly kitchen refresh for 2024, find easy, DIY tips for updating your kitchen from Custom Service Hardware. We offer some kitchen

How to Install an Interior Rolling Barn Door (Round Rail)
Need some guidance for installing CSH rollng barn door hardware? This 7-step installation guide for round rail hardware is here to help! Whether you’re installing the hardware

Should You Use RTA Cabinets for Your Kitchen Renovation?
The prospect of replacing your kitchen cabinets with ready-to-assemble cabinets can be daunting, but there are many good reasons to do it. You might be
Rolling Door Prices: What Are You Getting for Your Money?
If you do a quick Google shopping search for interior rolling barn door prices, you’ll notice they range from sub-$100 hardware kits, to Custom Service
CSH’s Rolling Barn Doors featured on Food Network’s ‘Save My Bakery’
As featured on MyFixItUpLife, Custom Service Hardware got some love on the popular renovation-themed show ‘Save My Bakery’ on Food Network. In an episode entitled