Installing a rolling library ladder around a corner is now a breeze with the innovative new track system and hardware developed by the amazing engineers at Custom Service Hardware. They created a simple solution for a rolling ladder to go around an outside corner up to 90°. If you’ve ever been limited by corners in a rolling ladder installation you were planning, now’s your chance to get it done!
Here’s how to install it.
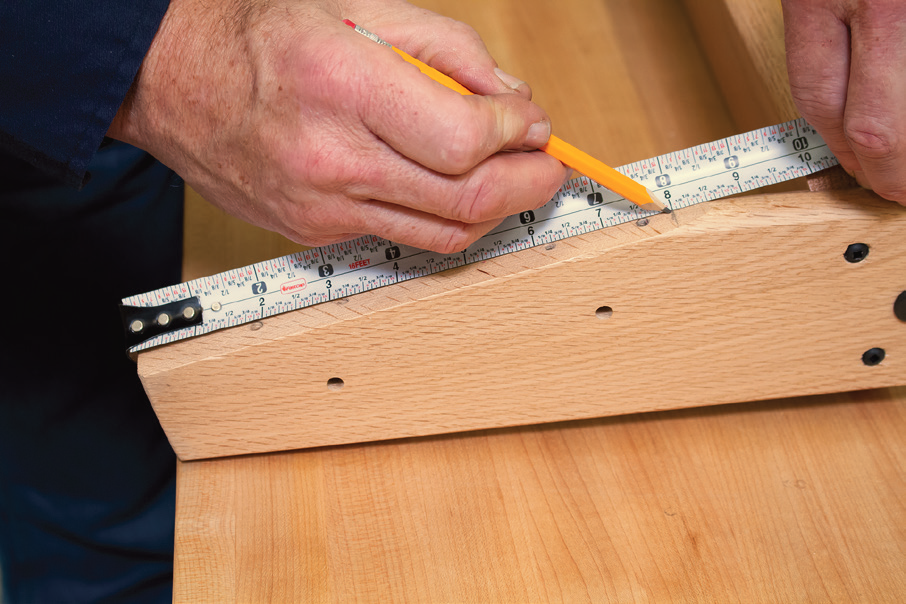
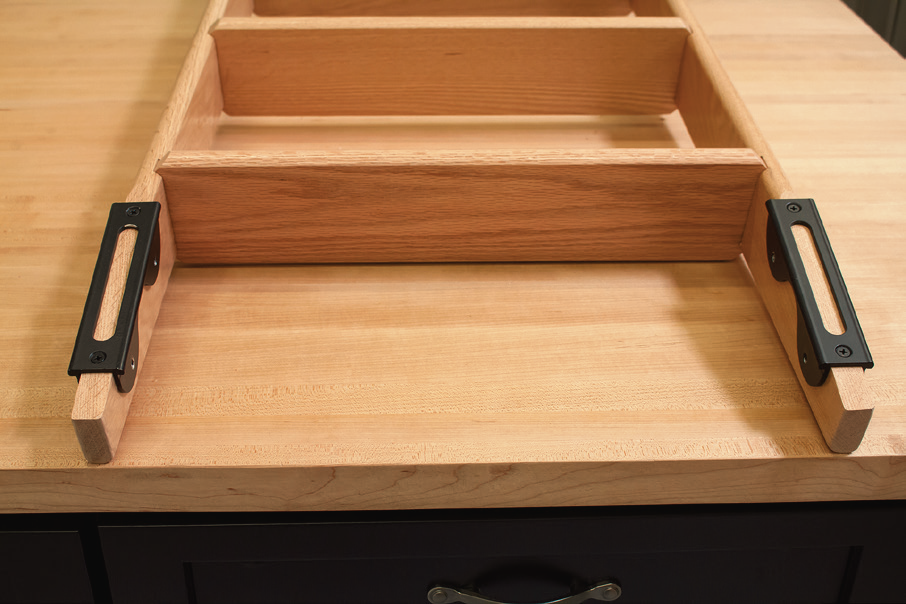
Installing the Upper “U” Guide Hardware
- Make a mark 8” down from the tip of the ladder on both ladder side rails
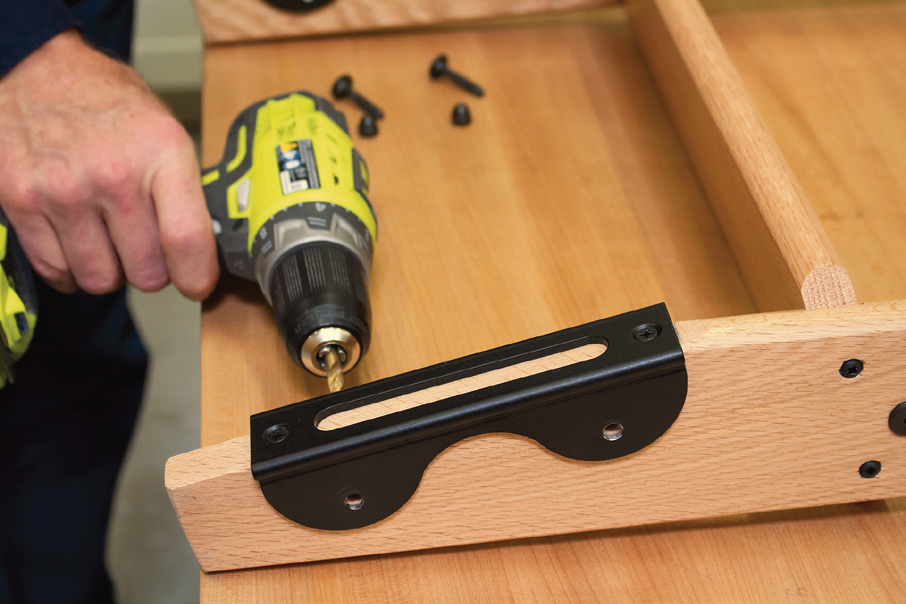
2. Position the Upper “U” Guide onto the ladder flush to the mark. Using a #9 Vix Bit or a 1/8” drill bit, predrill the 2 fastener holes. (Predrilling these holes in the edge of the ladder side rails is VERY important to avoid splitting the wood).
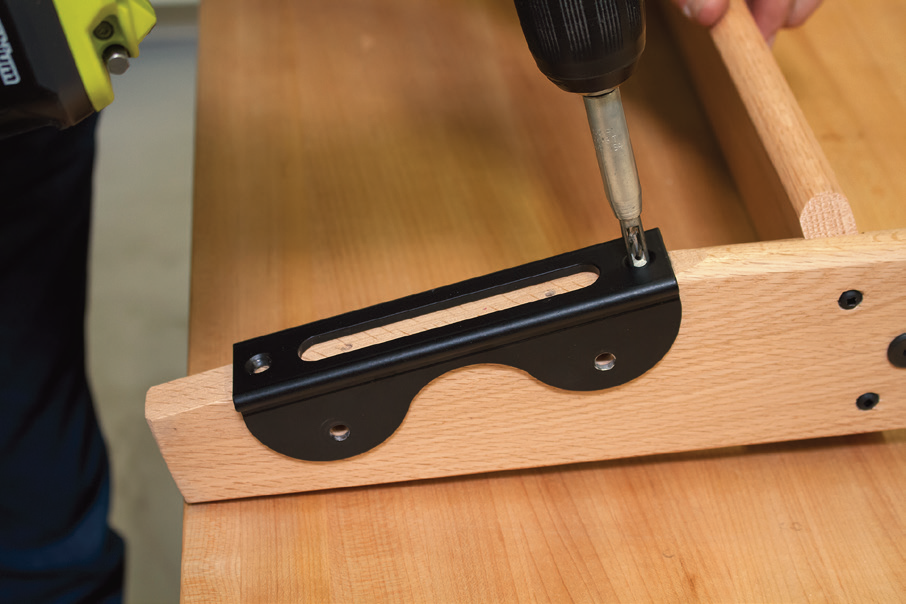
3. Use the supplied #10 x ¾” long Phillips drive, flat-head screws to secure the two Upper “U” Guides to the top of the ladder.

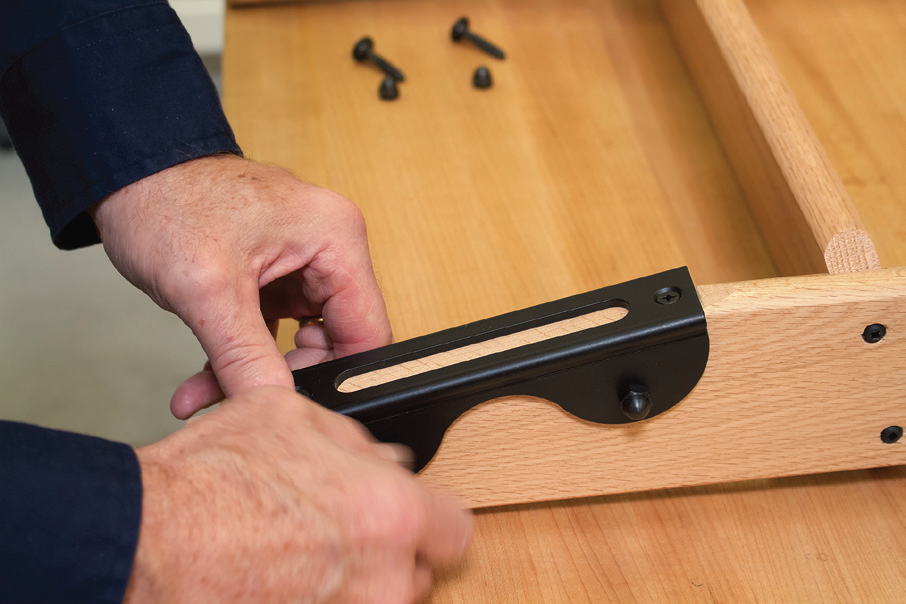
4. Using a ¼” drill bit, drill out the holes for the nut cap/threaded rod on the sides of the ladder. Recommended procedure for this:
- Using the holes in the Upper “U” Guide as a drill guide, drill a 1/4” hole halfway
- through the thickness of the ladder slide rail.
- Drill the same hole on the opposite side of the Upper “U” Guide, producing a 1/4”
- through hole in the ladder side rail.
- Follow this same procedure for all four through holes and complete the assembly by
- securing the Upper “U” Guide to the ladder with the supplied nut caps and KD bolts
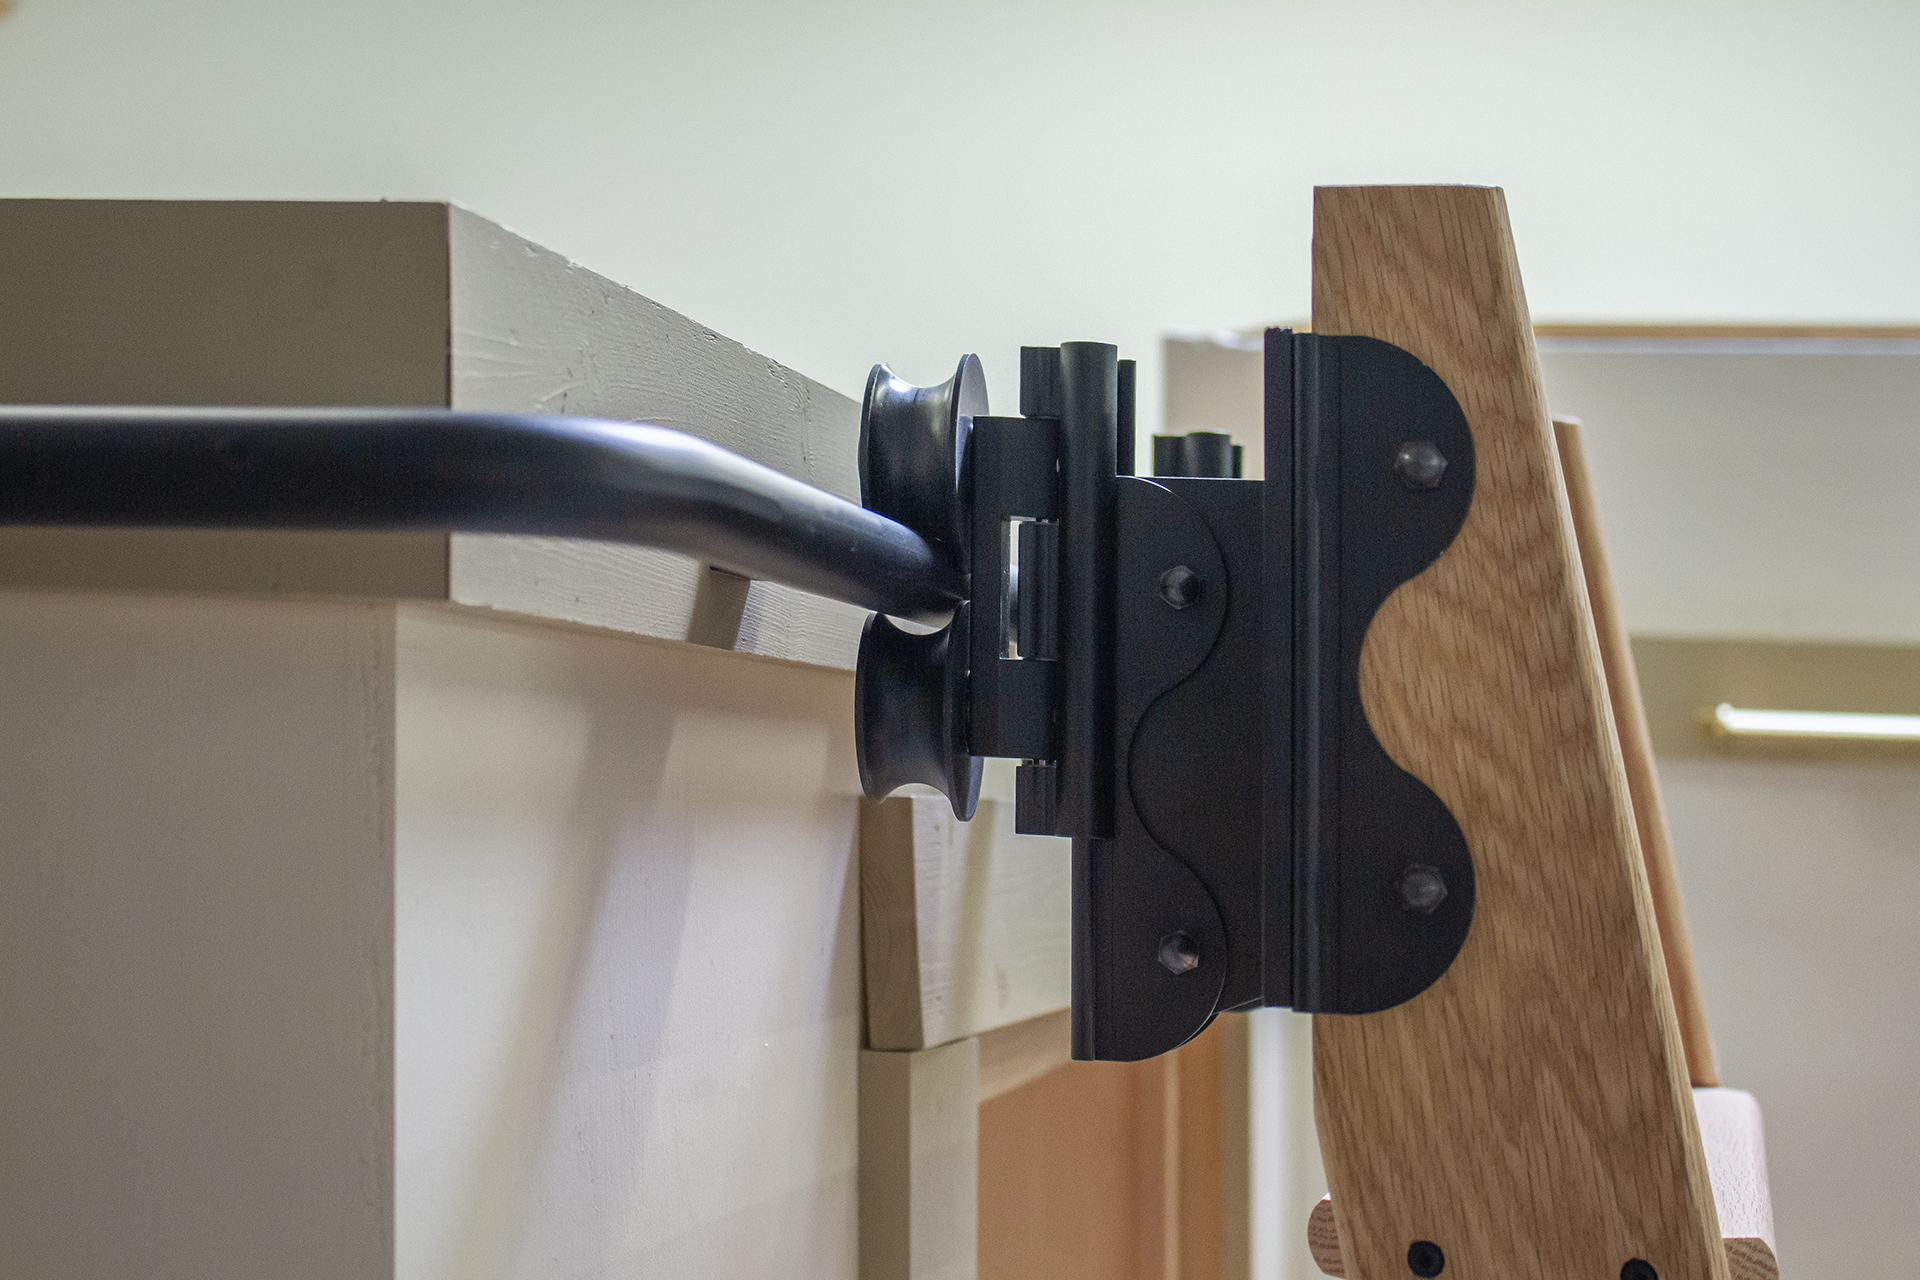
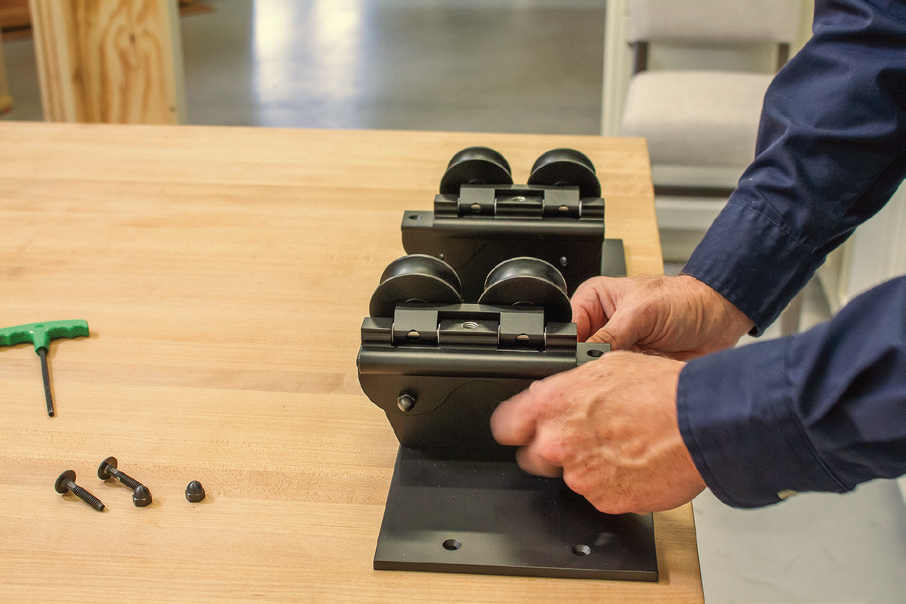
Installing the Upper Swivel Roller Assembly
- Place the Upper Swivel Roller Assemblies onto the Cross-Brace Support Brackets.
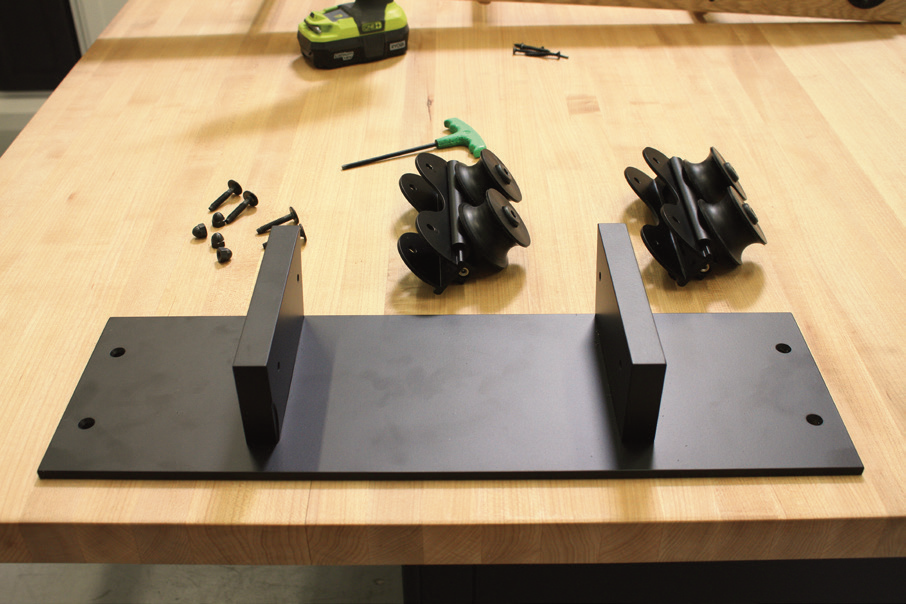
2. Using the supplied ¼-20 KD bolts and acorn nuts, secure these assemblies onto the brackets.
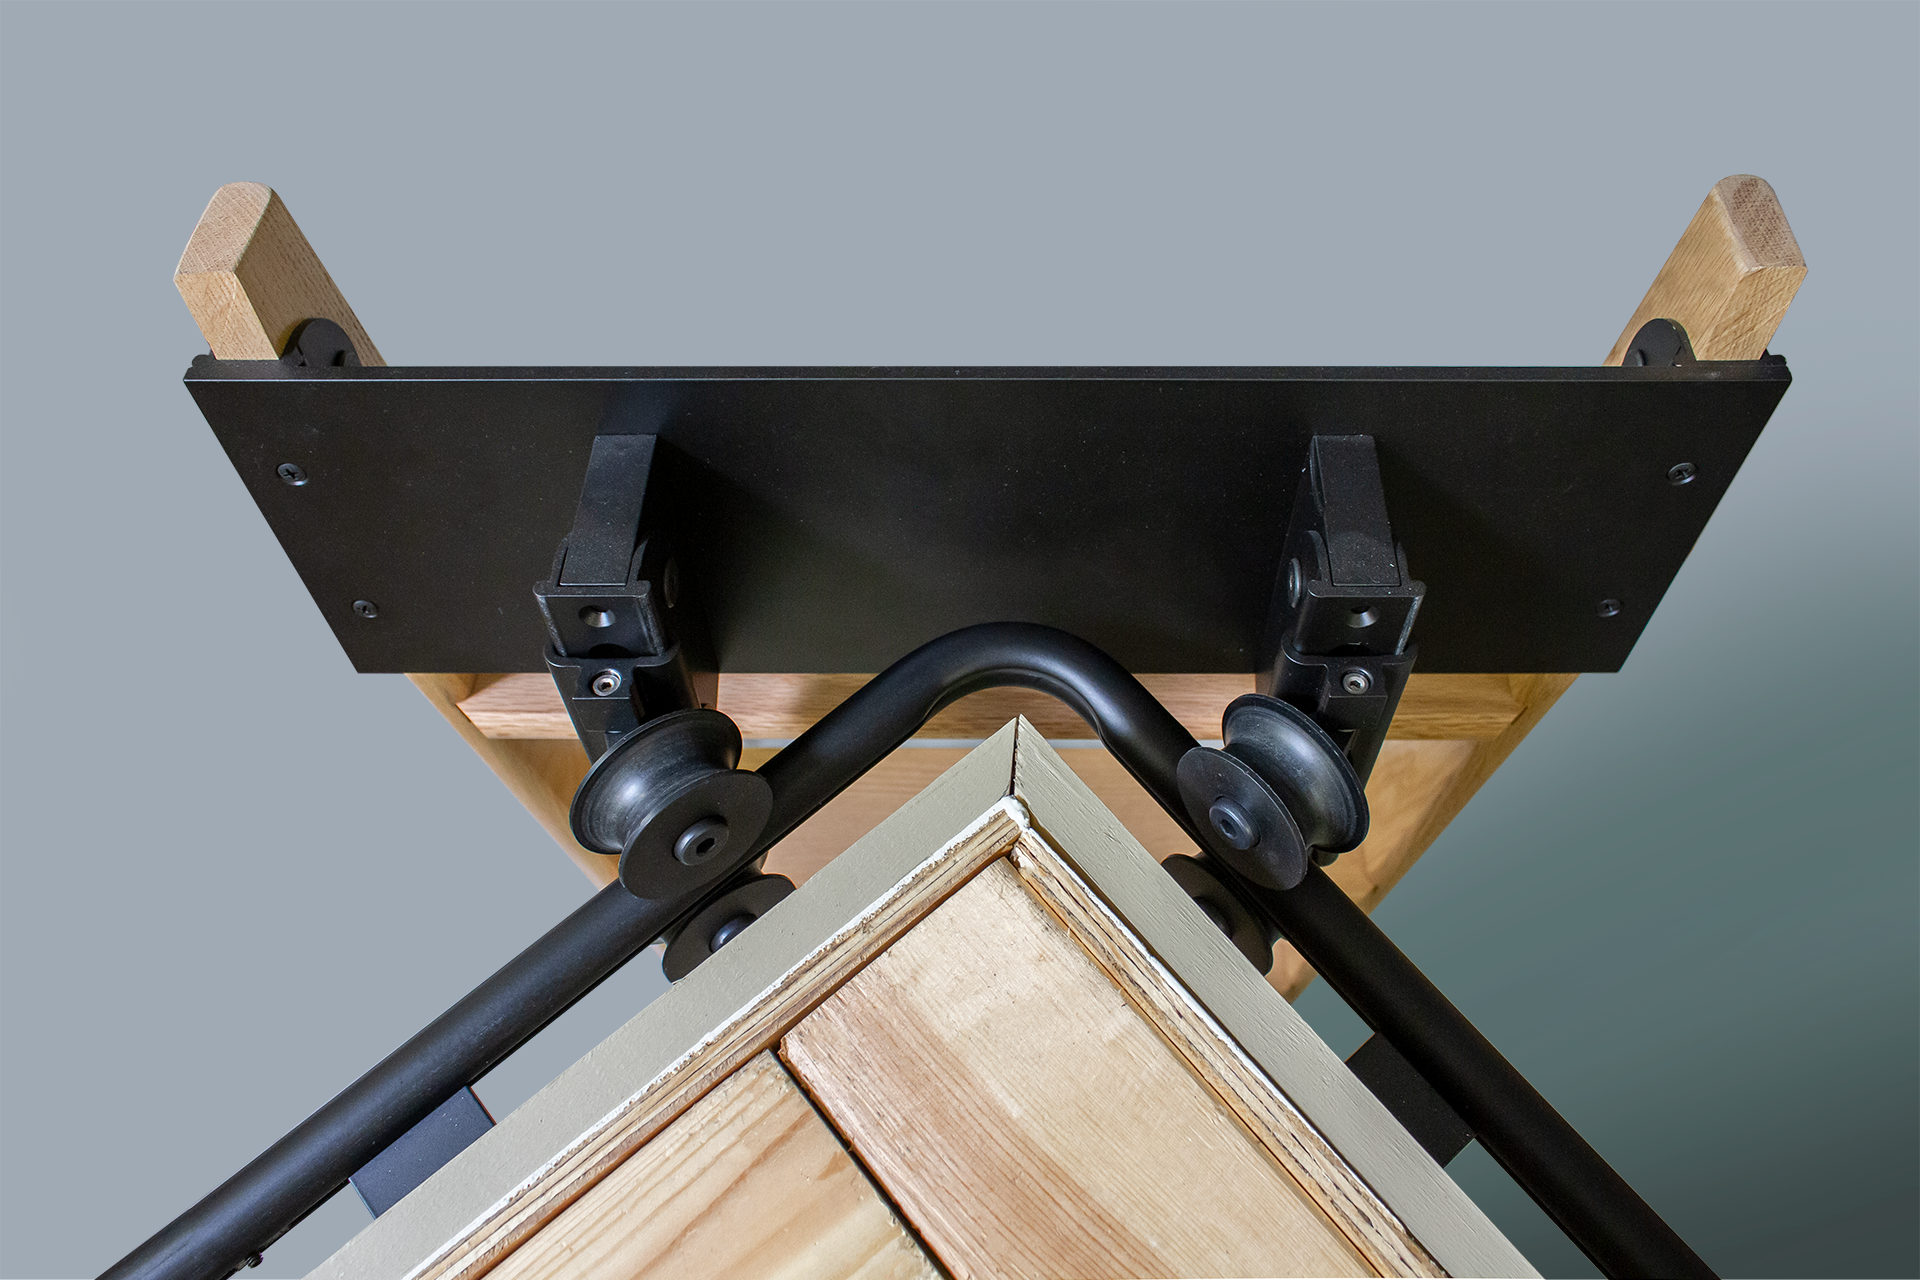
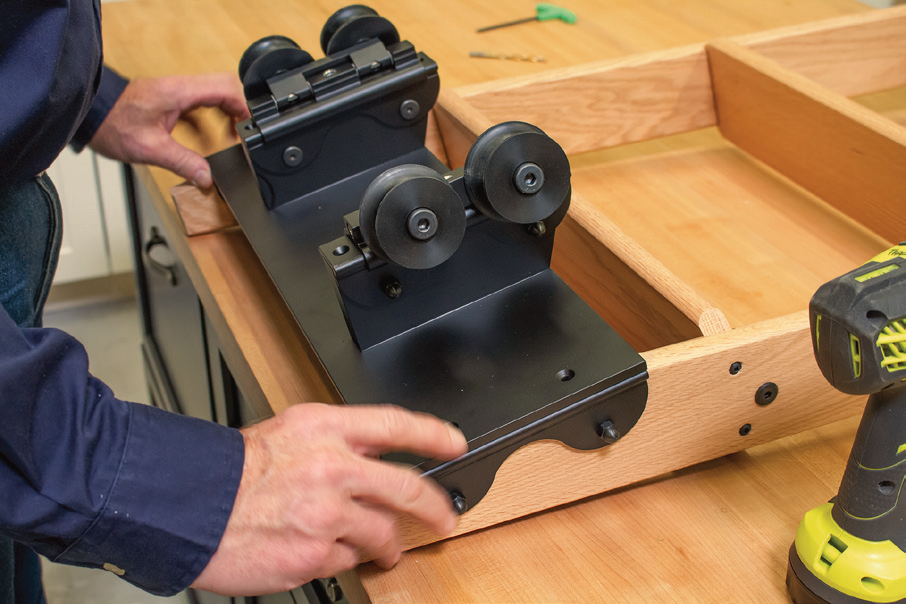
Installing the Cross-Brace Assembly onto the Rolling Ladder
- Place the Cross-Brace Assembly onto the Upper “U” Guide with the Upper Swivel Roller Assembly facing away from the ladder and the angled Cross-Brace Support Brackets pointing down towards the bottom of the ladder.
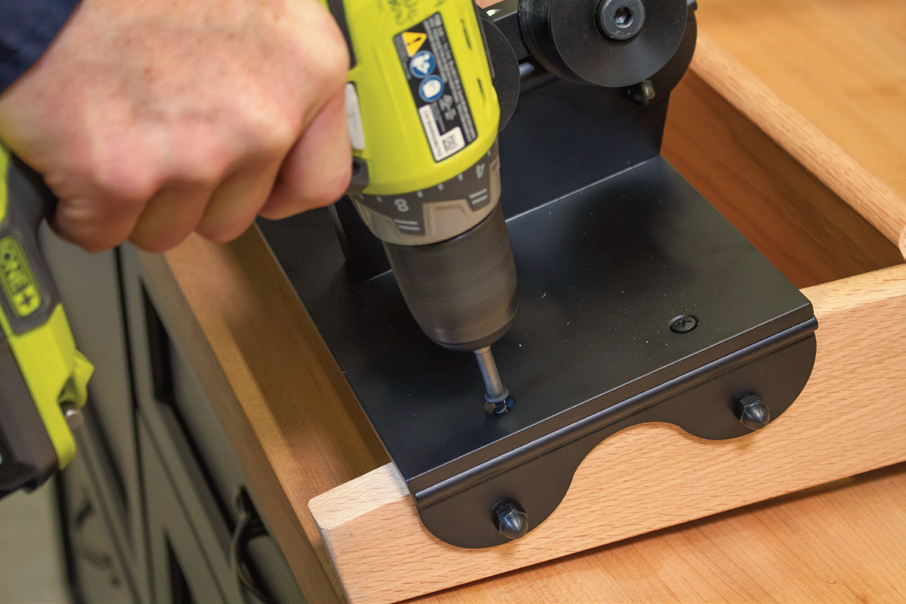
2. Align the Cross-Brace Assembly flush with the Upper “U” Guides and predrill the fastener holes using a #9 Vix bit or a 1/8” drill bit. (predrilling these holes in the edge of the ladder side rails is VERY important to avoid splitting the wood)
3. Using the supplied #10 Oval-head Phillips Drive 1 3/4” screws, secure the Cross-Brace Assembly to the ladder side rails
The ladder with the outside 90-degree curve rail hardware is now ready to attach to the Quiet Glide rail system!
Easily customize your outside curve rolling library ladder here, or shop outside corner assembly parts here.
Note: in order to use the outside corner hardware kit, you must also use the swivel rolling hardware kit, which you can find here or in the easy order form.